Introduction and Use Case:
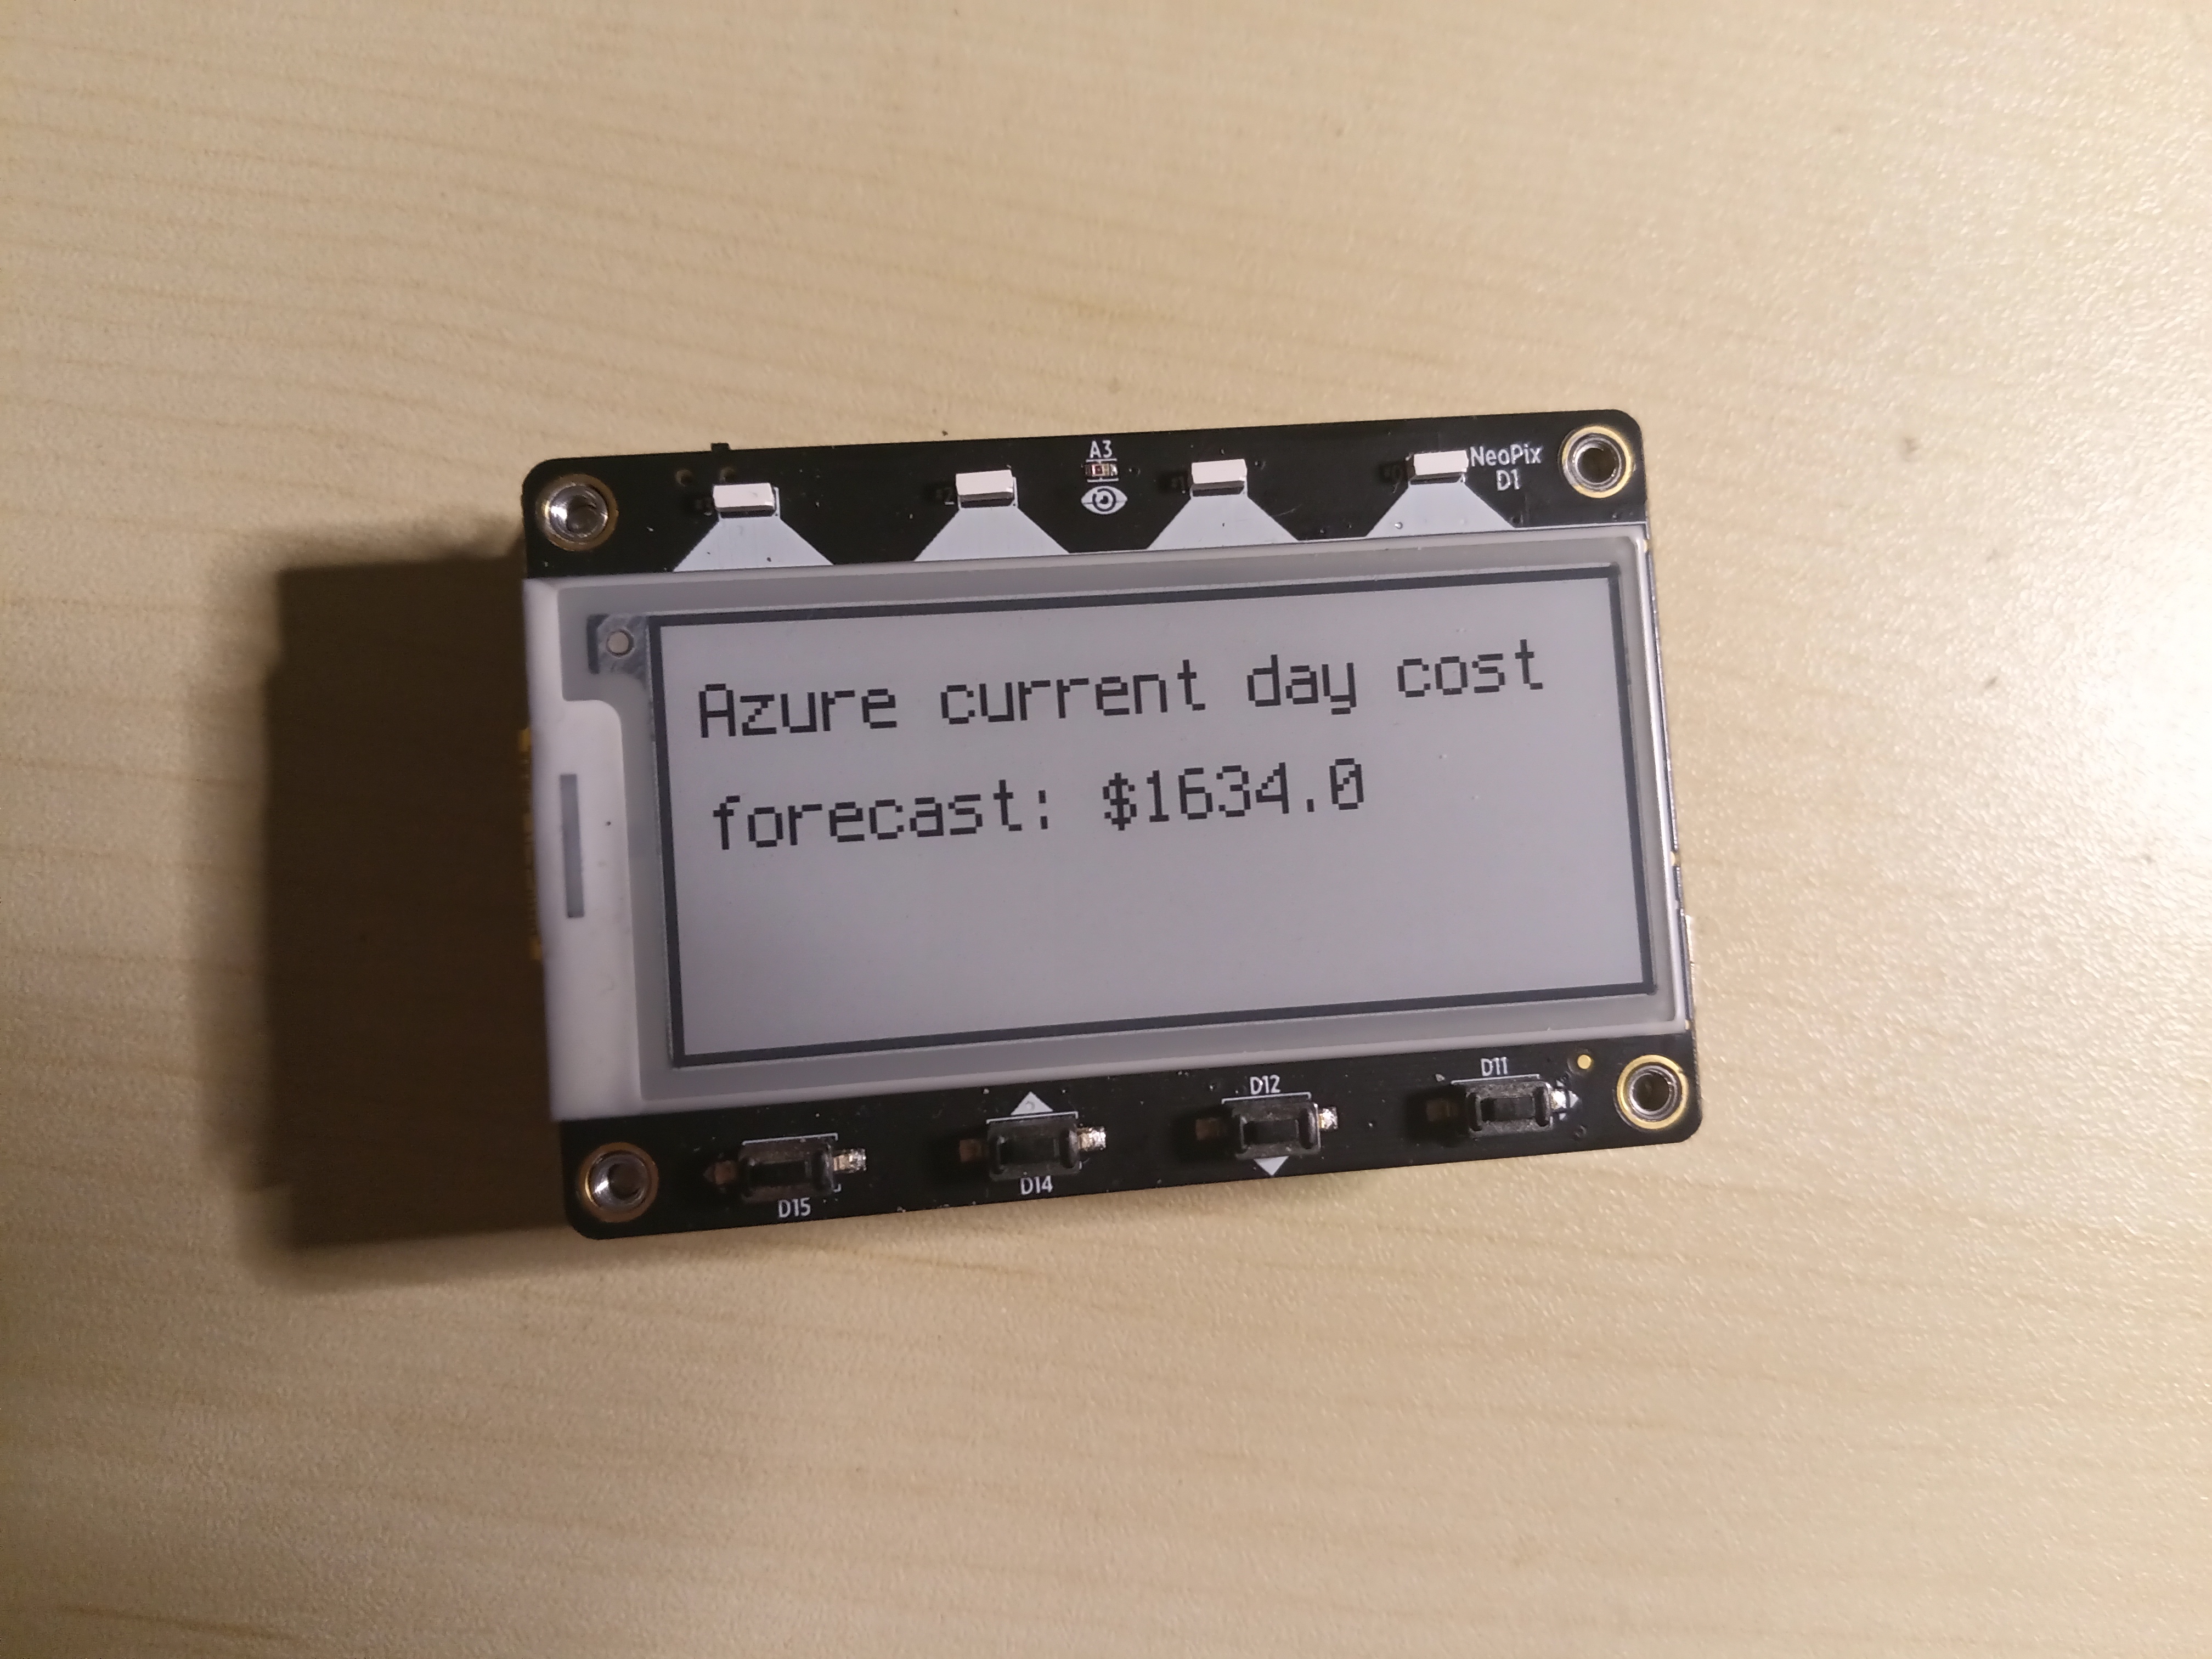
This project is intended to demonstrate a real-world use-case for leveraging the Azure cost management API with an ESP32/wireless enabled EInk IoT display device
In this post, we will create and/or leverage the following:
👉1. Azure Requirements:
- An Azure Web App & Assign an RBAC Role
- AppID
- Password
- TenantID
- SubscriptionID
- Assign Cost Management Reader Privileges to Subscription
👉2. Software Requirements:
- Generate a secrets.py file
- Deploy Circuit Python locally & Connect to Azure cost management API
👉3. Hardware Requirements:
- Connect a battery and magnets so it can run on any magnetic surface (whiteboard, fridge, etc.) completely wirelessly
Create Azure Web App & Assign RBAC Role
-
Login to the Azure Portal
-
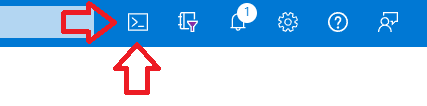
Select the CloudShell button illustrated below:
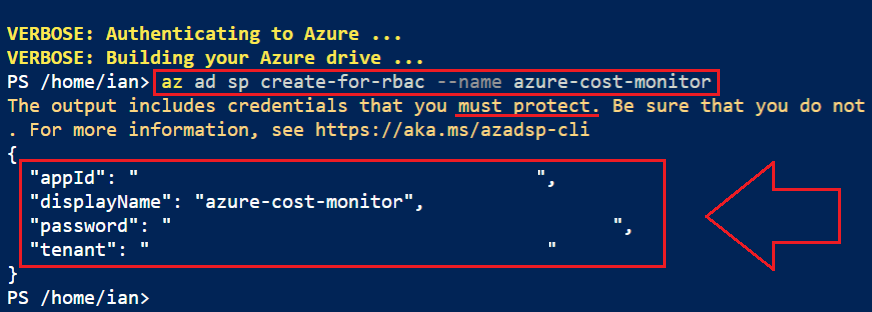
- Run this command in the Azure Command Line Interface (CLI):
az ad sp create-for-rbac --name azure-cost-monitor - Note the following from the output:
AppID
Password
TenantID
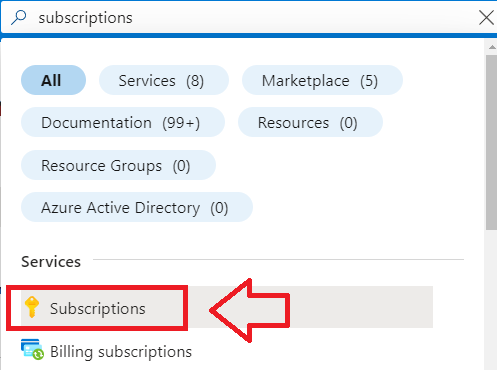
- Navigate to “Subscriptions” in the top search bar, illustrated below:
-
Select your Subscription and navigate to the Overview Blade
-
Grab your SubscriptionID
Build your secrets.py File
- Take the information you just gathered and enter it into the secrets.py file like this:
secrets = {
  "ssid" : "Your-WiFi-SSID",
  "password" : "Your-WiFi-PSK",
  "appId": "xxxxxxxx-xxxx-xxxx-xxxx-xxxxxxxxxxxx",
  "clientSecret": "xxxxxxxxxxxxxxxxxxxxxxxxxxxxxxxxxxxxxxxx",
  "tenant": "xxxxxxxx-xxxx-xxxx-xxxx-xxxxxxxxxxxx",
  "subscription": "xxxxxxxx-xxxx-xxxx-xxxx-xxxxxxxxxxxx"
}

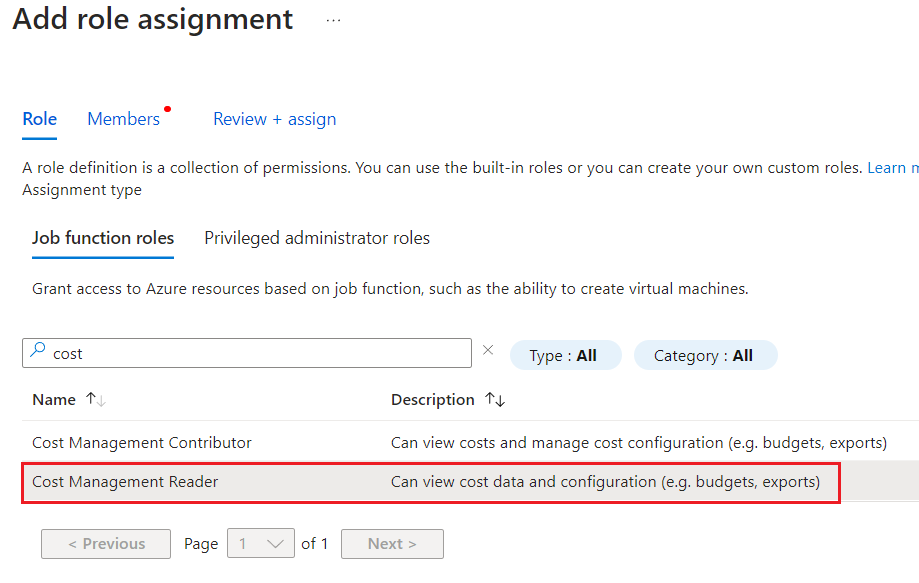
Assign Cost Management Reader Role
Next we have to give our web app permissions to read the cost management information:
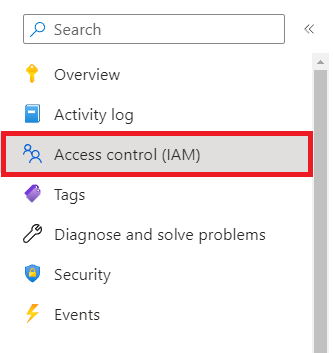
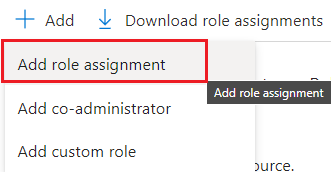
- Navigate to your Subscription and select the Identity & Access Management (IAM) Blade:
- Click on + Add then Add Role Assignment:
- Search for, and select Cost Management Reader:
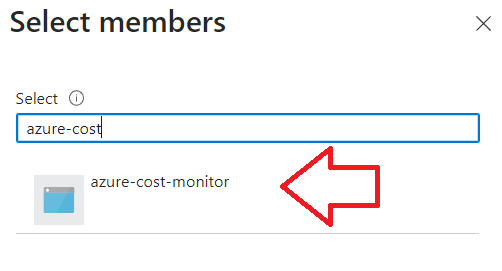
- Search for, and select the Azure-Cost-Monitor entity we created earlier, then click Next/Save:
Program the MagTag
- Plug your MagTag into your computer using a USB-C cable capable of transmitting data and not just charging!
- Launch UF2 boot loader by double-clicking the Reset button (the one next to the USB C port). You may have to try a few times to get the timing right.
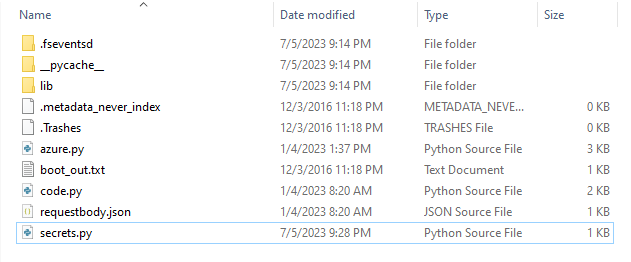
- You will see a new disk drive appear called MAGTAGBOOT or CIRCUITPY (depending on your hardware model).
- Copy these files to your device:
- It should look something like this:
💡 Pro-Tip: you can also program this hardware using the Web Serial ESPTool and even connect via COM port with PuTTY (on Windows, check DevMgmt.msc for COM devices and note the COM port). The REPL Tool is pretty handy for troubleshooting on the fly too.
Assembly
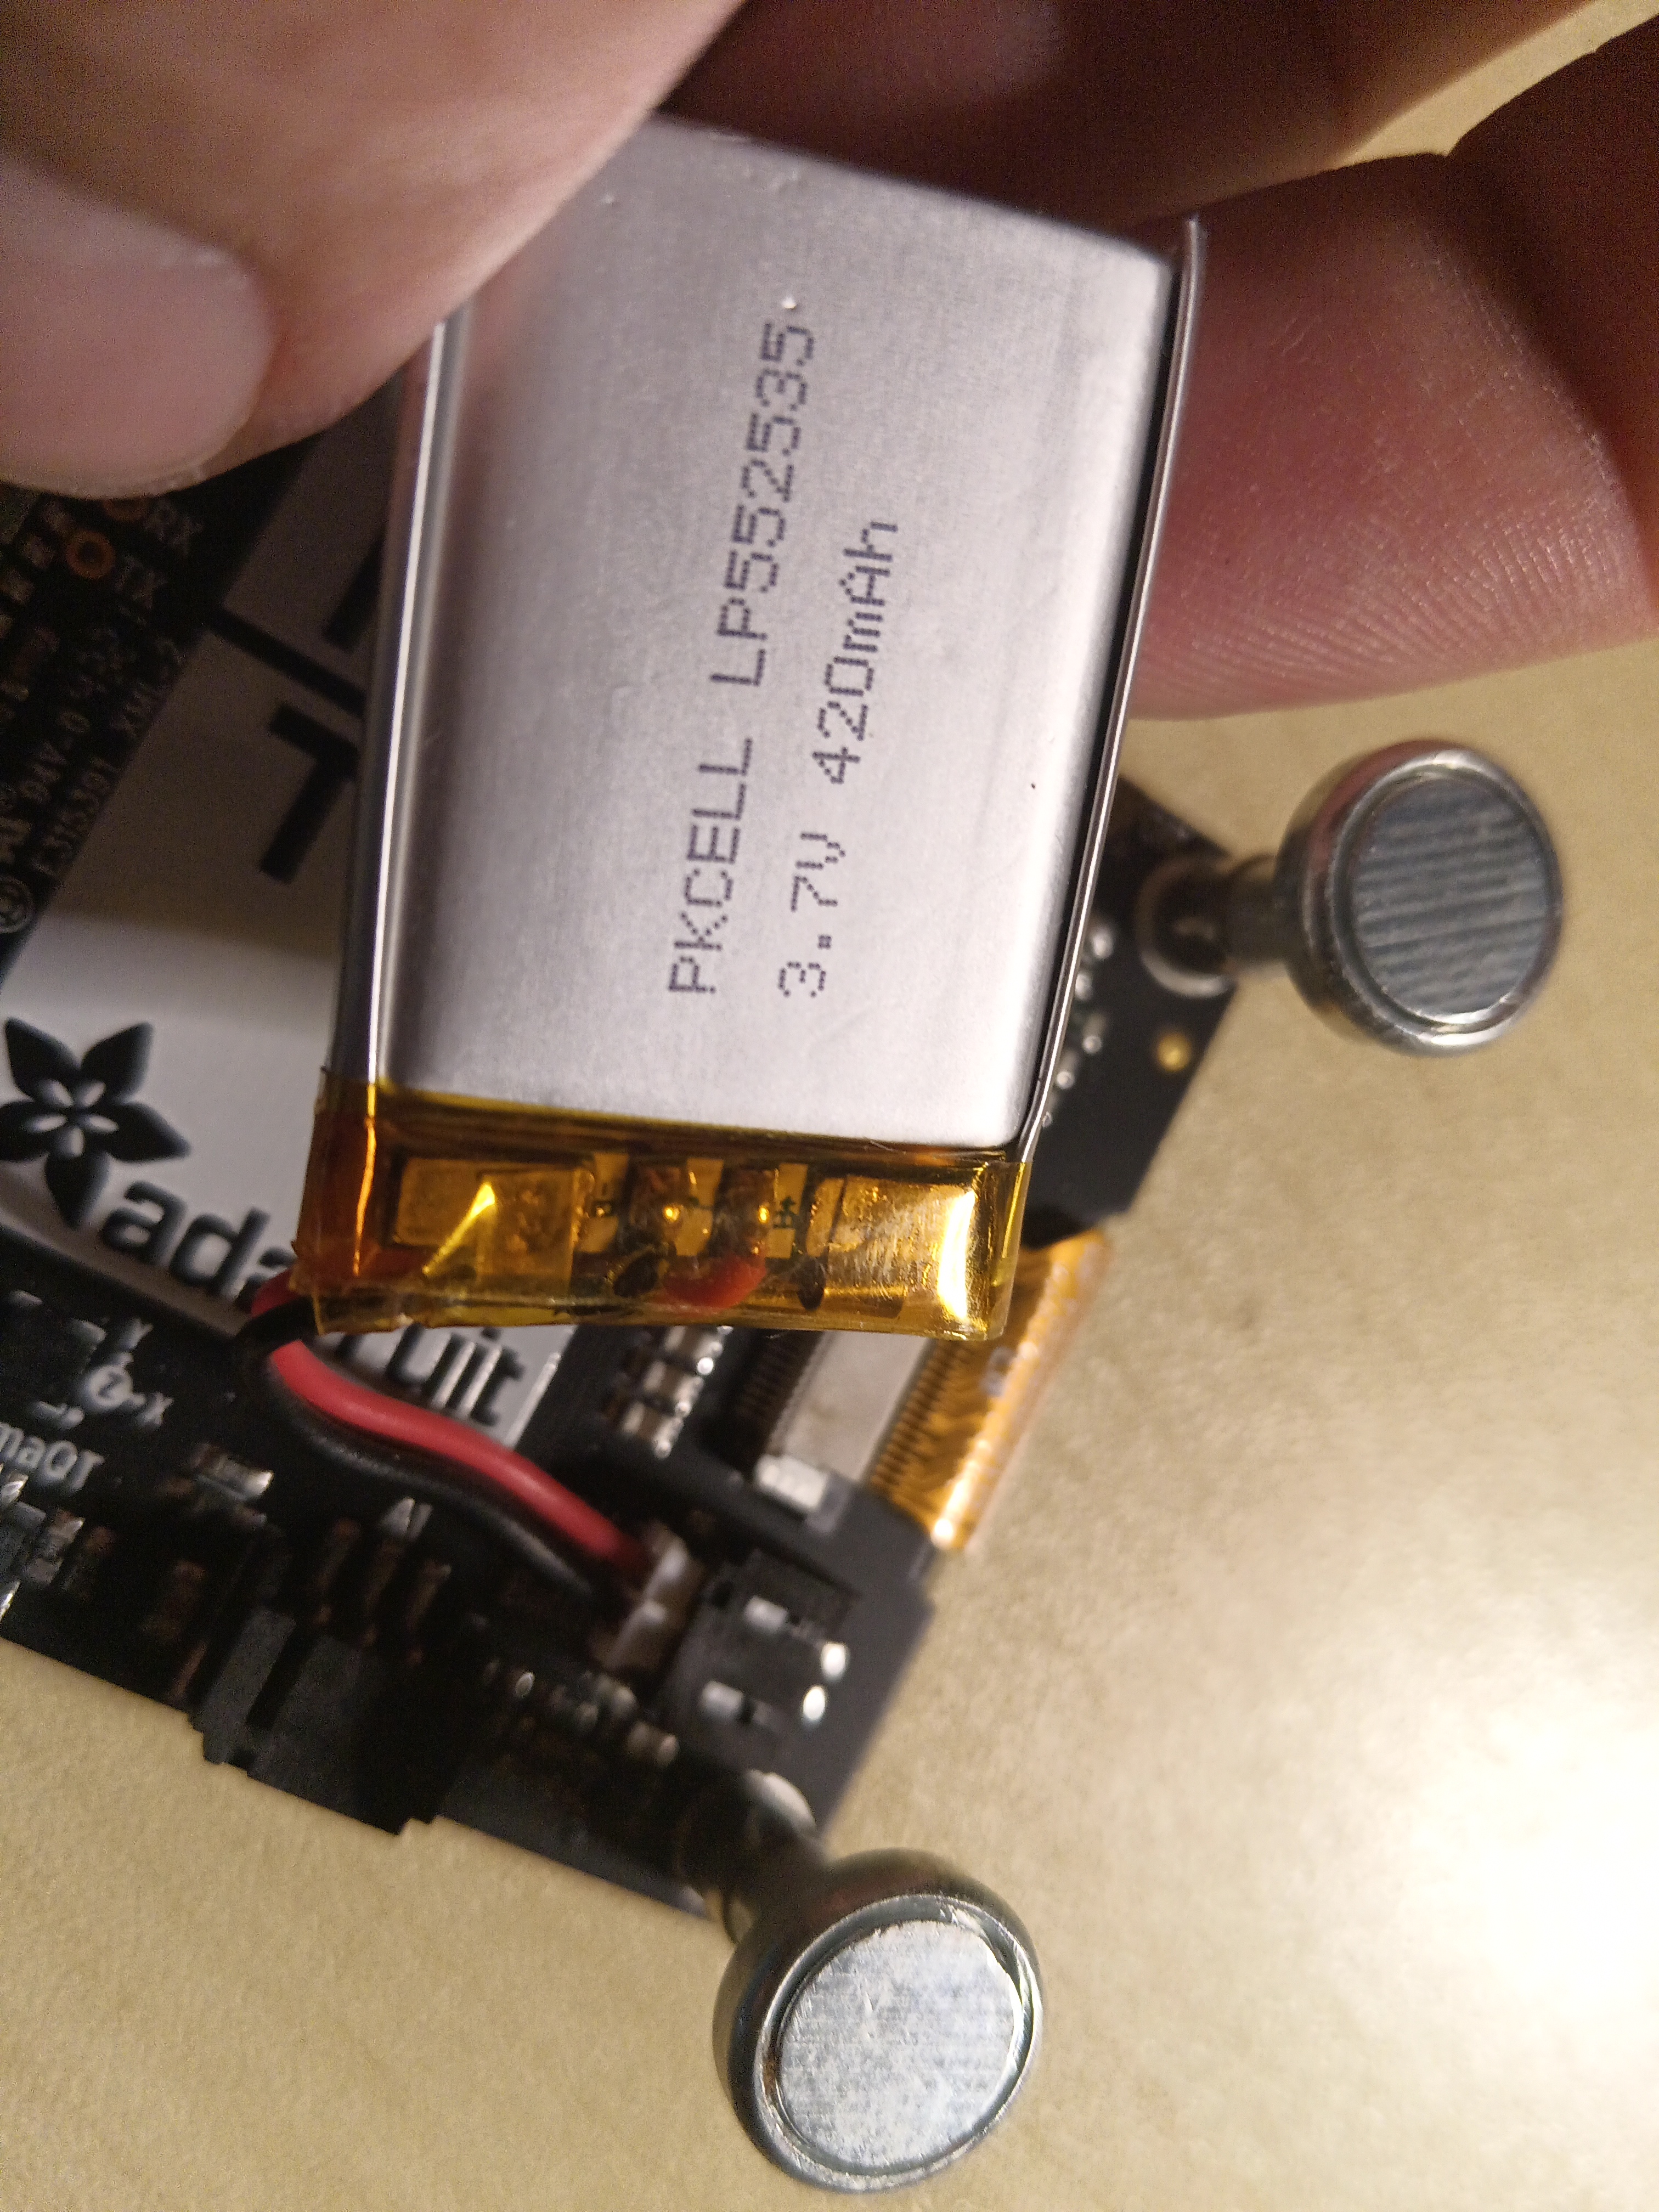
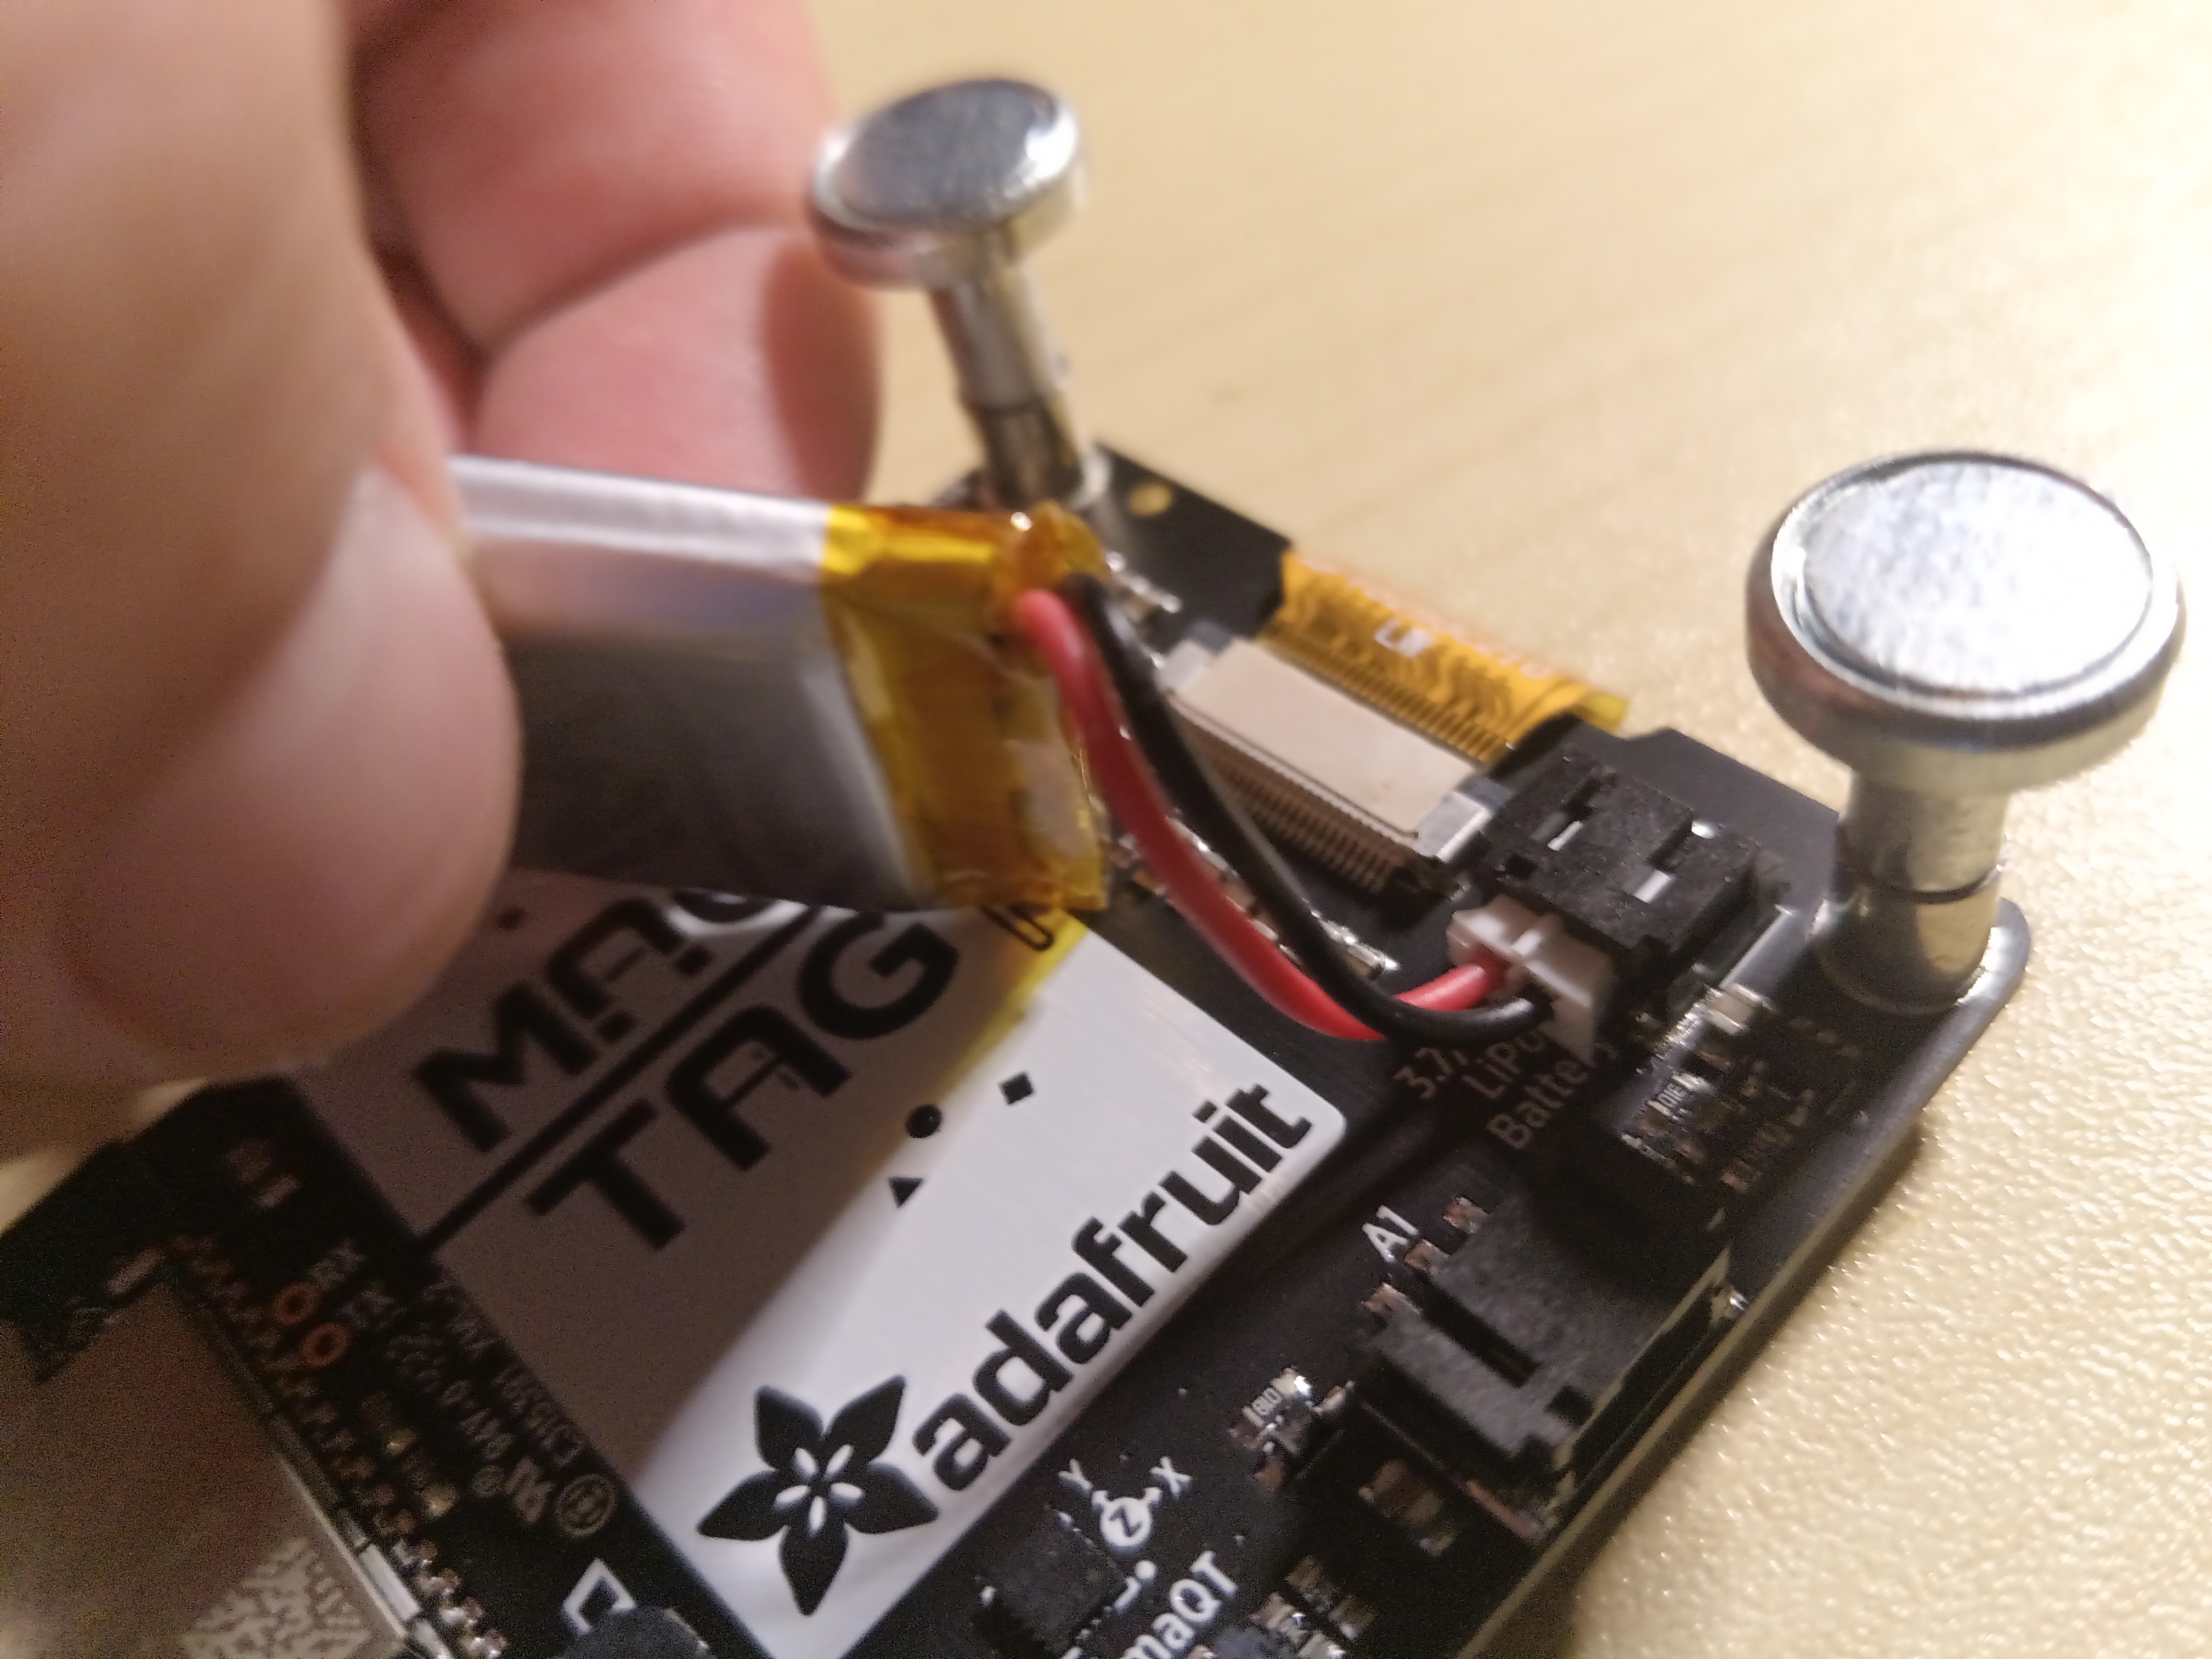
- Connect the LiPo battery and screw in the magnetic feet:
In this post, we accomplished the following:
- ✓ Built an Azure Web App & Assigned an RBAC Role
- ✓ Built a secrets.py file from retrieved AppID, Password, TenantID, and SubscriptionID data
- ✓ Assigned Cost Management Reader Privileges to Subscription
- ✓ Deployed Circuit Python locally
- ✓ Connected a battery and magnets so it can run on any magnetic surface (whiteboard, fridge, etc.) completely wirelessly
- ✓ Connected to Azure cost management API
- ✓ Attained a state of awesome
Hardware
- Adafruit MagTag - 2.9” Grayscale E-Ink WiFi Display (ESP32)
- Lithium Ion Polymer Battery with Short Cable - 3.7V 420mAh
- Mini Magnet Feet for RGB LED Matrices (Pack of 4)
📚 Want to go deeper?
My Toolbox books turn real Microsoft security telemetry into defensible operations:
🧰 PowerShell Toolbox Hands-On Automation for Auditing and Defense
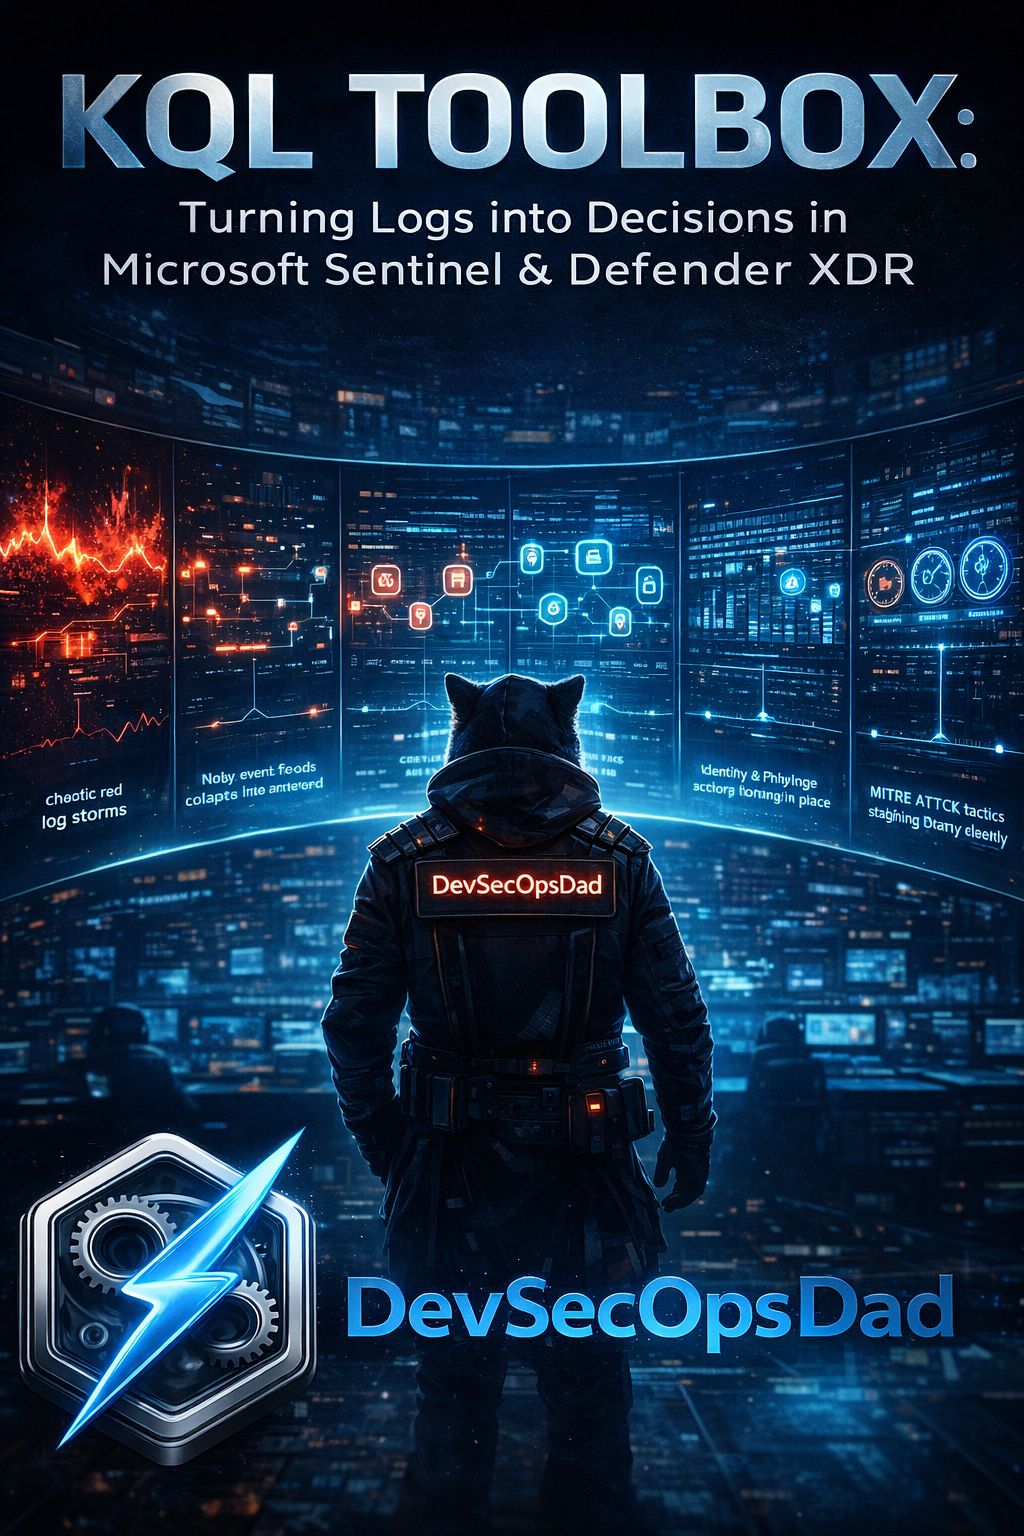
🛠️ KQL Toolbox: Turning Logs into Decisions in Microsoft Sentinel
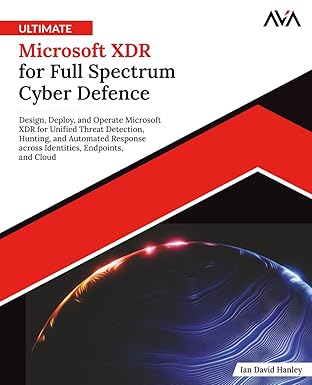
📖 Ultimate Microsoft XDR for Full Spectrum Cyber Defense
Real-world detections, Sentinel, Defender XDR, and Entra ID — end to end.
Resources
- Azure Cloud Shell (CLI)
- Azure RBAC
- Assign Access to Cost management Data (Azure)
- REPL interface
- Web Serial ESPTool
